

How To Draw Trees In The Distance
'How to depict a tree?' is a question that I get asked often, online an offline, so I decided to make this tutorial here. I fabricated 7 drawings of diverse trees with stride by step instructions. I promise you all notice it helpful!
***This mail contains affiliate links.***
For me cartoon trees is all nearly branches and the crown, and fining a balance that you are happy with. There are many amazing artists, books and tutorials out there all most drawing copse. For example, THIS BOOK is very good, and my kids and I enjoyed information technology in the past.
This tutorial is my take on drawing copse. For these drawings I used a regular sketching pencil, though the same main applies to other mediums as well. I also adjusted all the sketches in Gimp 2 so that they are more than visible, so there will be a slight variation between the photos.
Alright, here is tree number one. I phone call this one "Tree # 1". 🙂
How To Depict A Tree: Tree # one
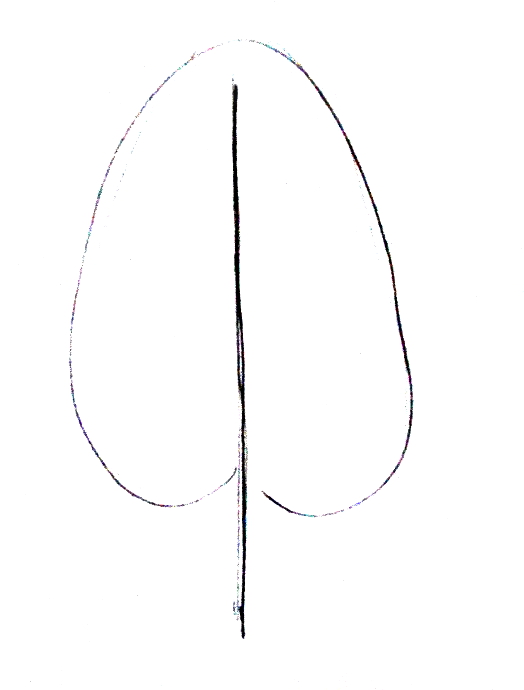
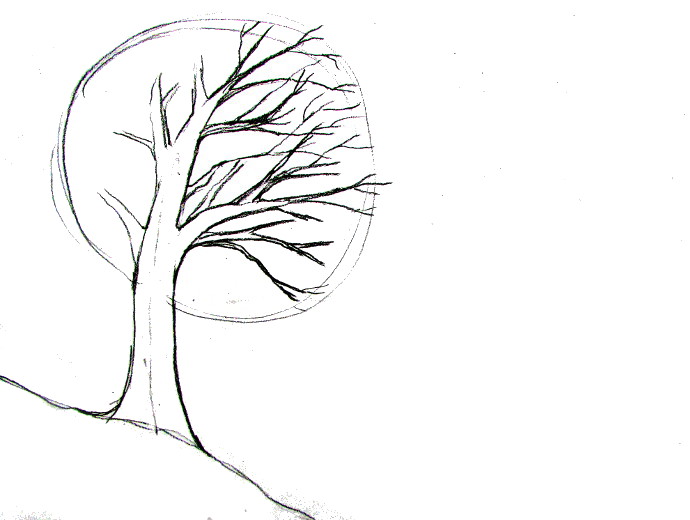
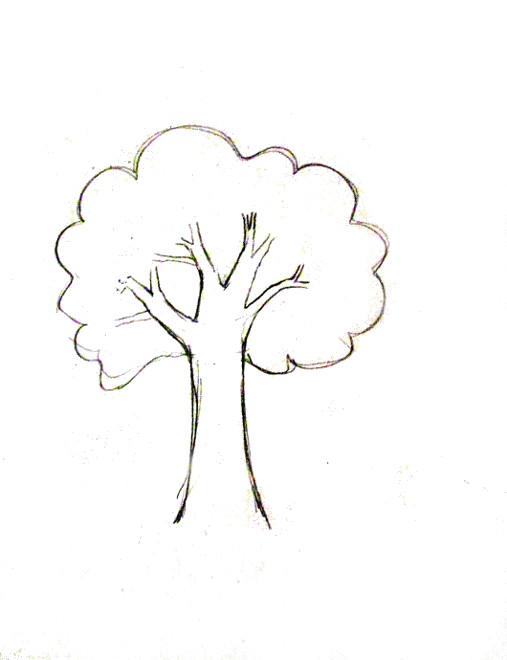
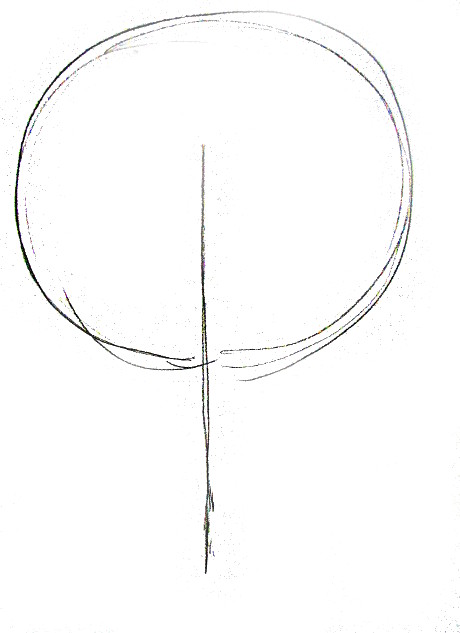
I start with a line and the general shape that I would like the crown to be.
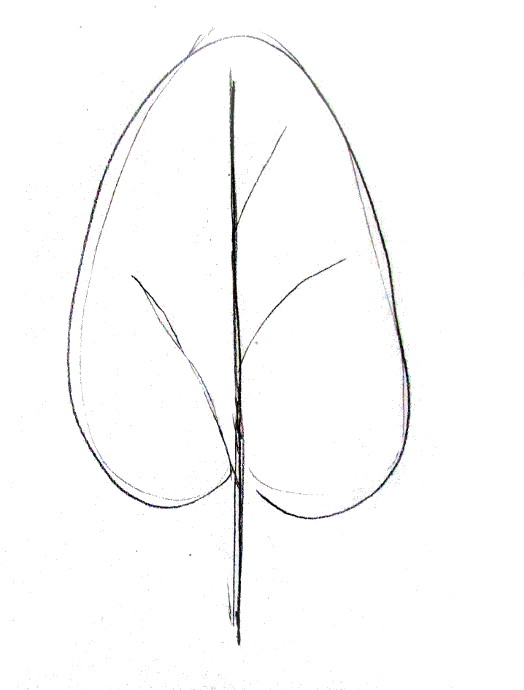
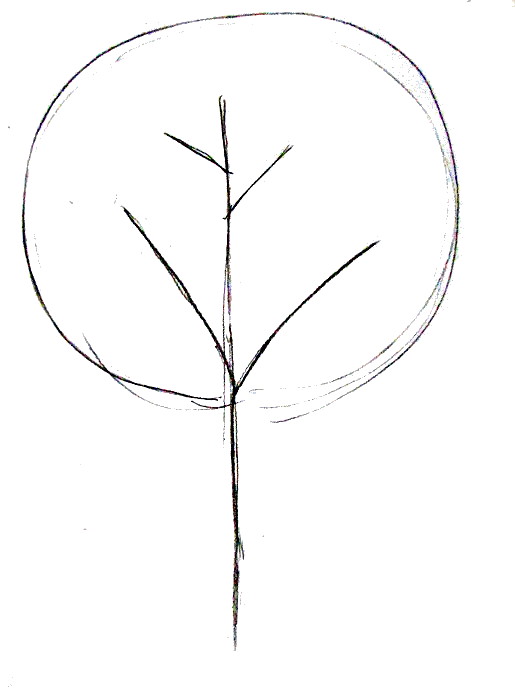
And then I add a few lines to betoken the primary branches.
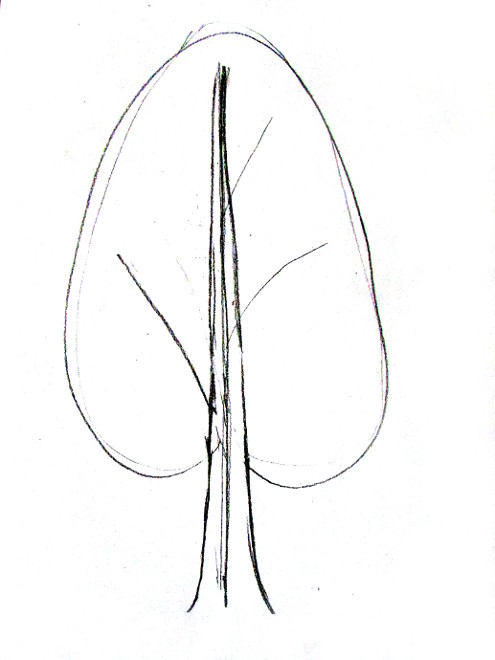
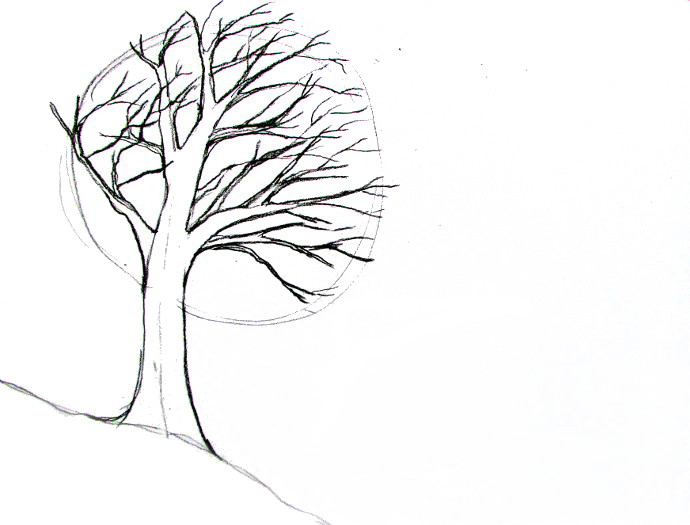
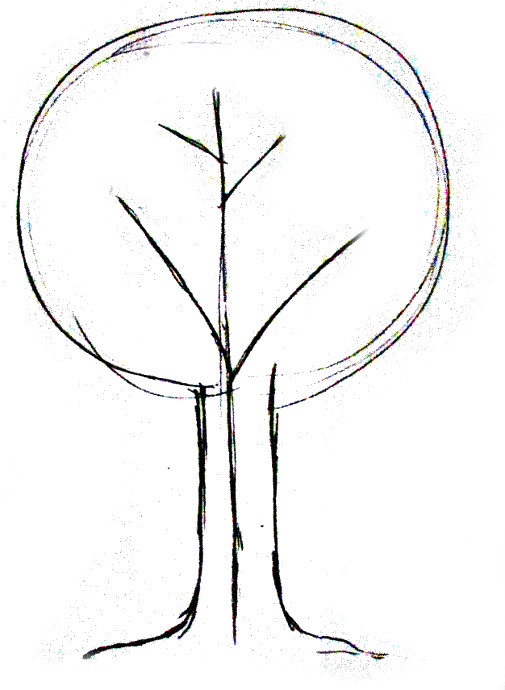
Make the trunk thicker. Information technology is thick towards the lesser and the roots, and narrows closer to a point toward the height.
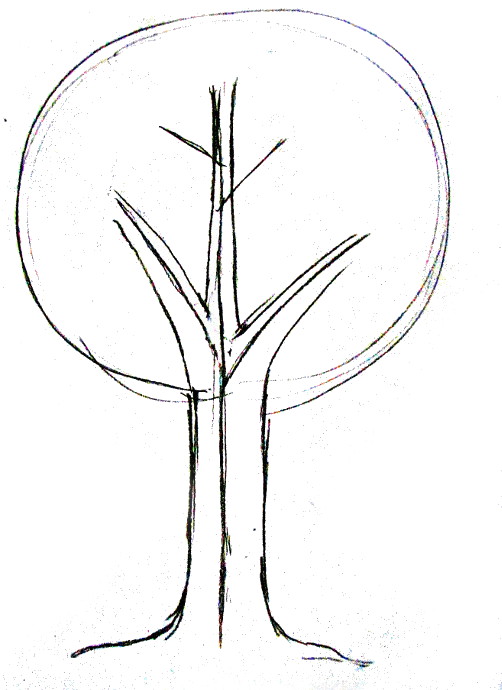
The same affair with the branches. They are thicker toward the base and narrower towards the tip. Easy-peasy.
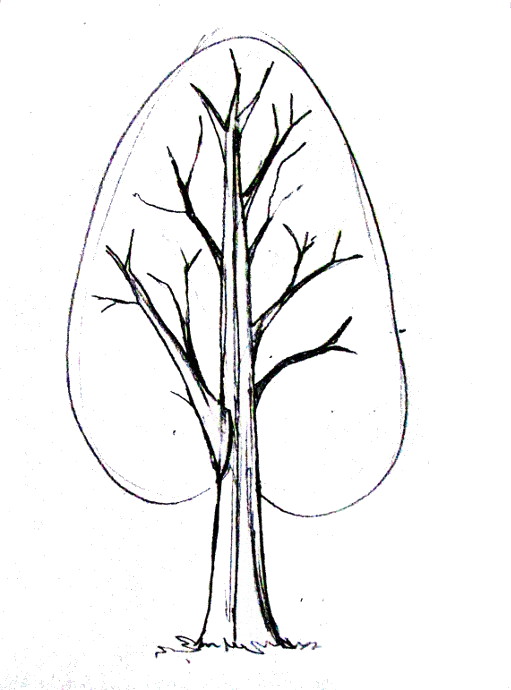
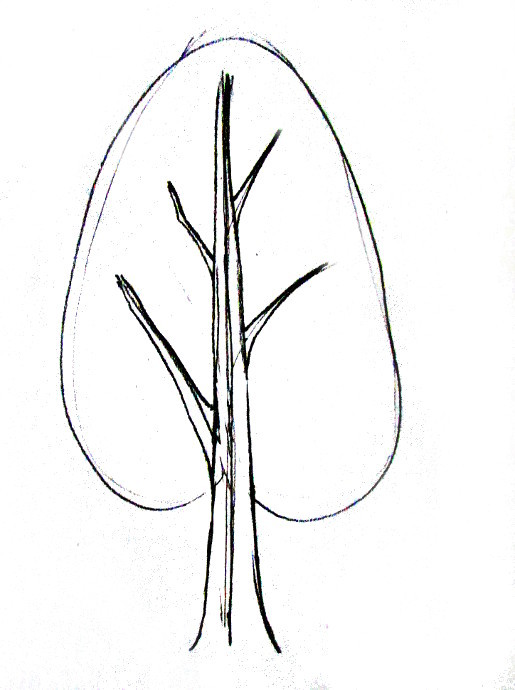
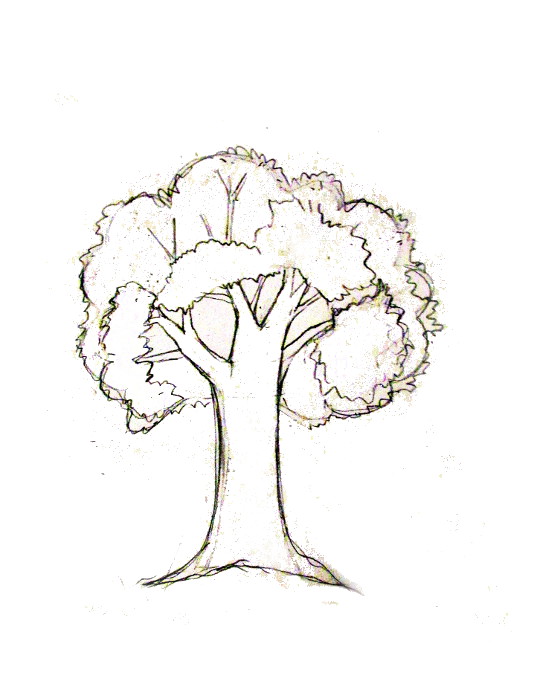
Now each one of the main branches gets a few branches of their own, but smaller and added a squiggle on the bottom to point a bit of grass.

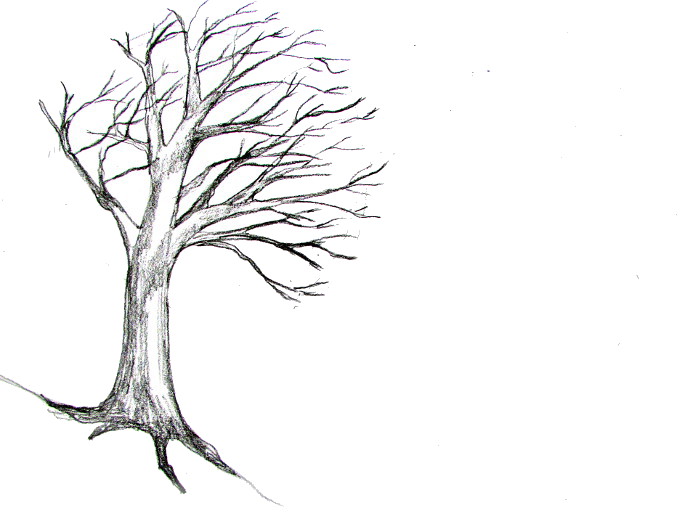
Even more smaller branches splitting off from the bigger ones. I also option an spot where the sunshine is coming from. I also shade the trunk a bit, using long straight lines.
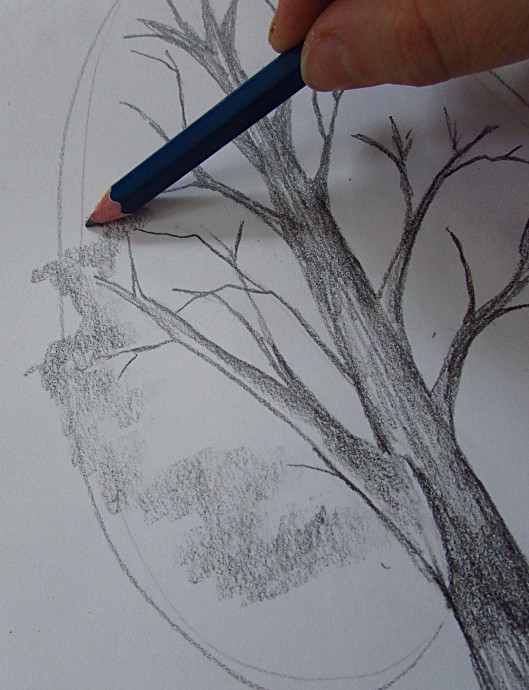
Putting my pencil sideways, I shade in the expanse in the crown where the leaves are. I am going in a sort of irregular pattern of peaks and troughs.
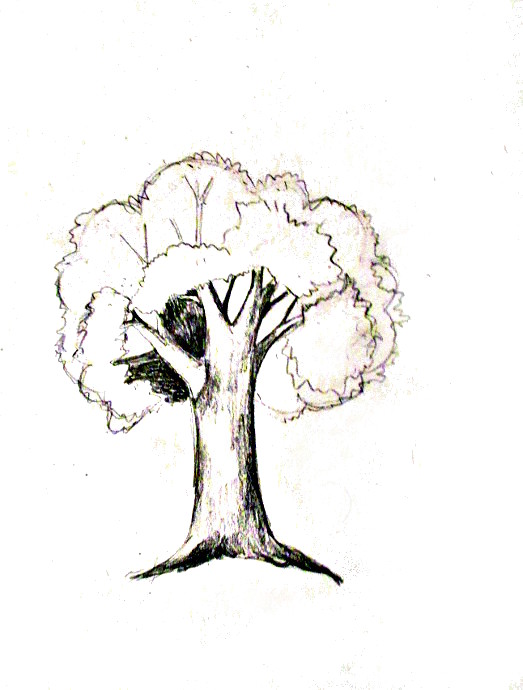
I finish shading the crown area.
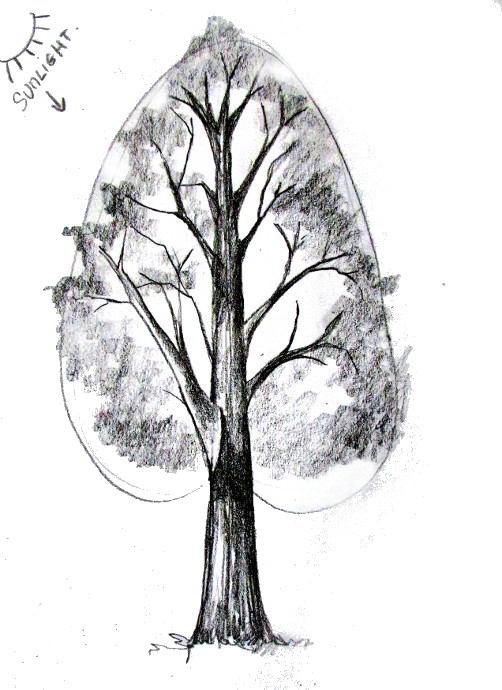
I continue working on the crown, now past adding some layers, and outlines. I as well erased the line that was giving me the initial crown shape idea. When shading, go on in listen where the sunday is coming from: areas facing the sun should be lighter then the areas facing away from it.
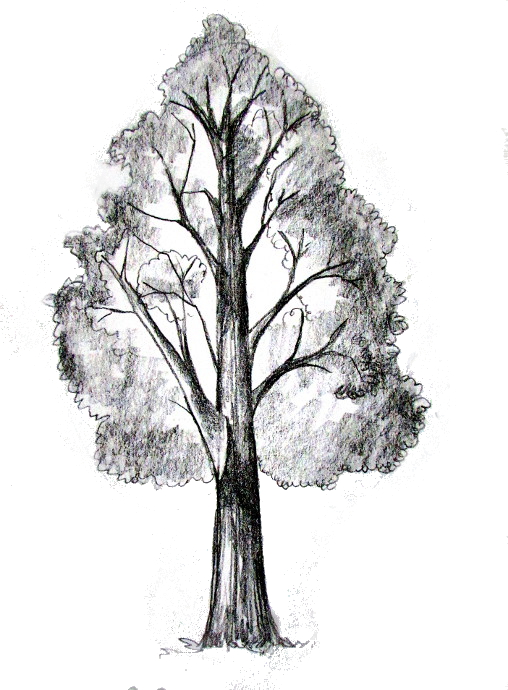
And keep working on the crown. Merely doodling away until you lot feel your tree crown is consummate.
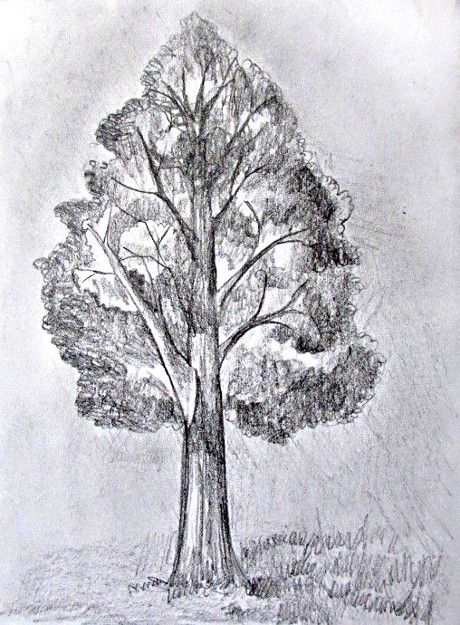
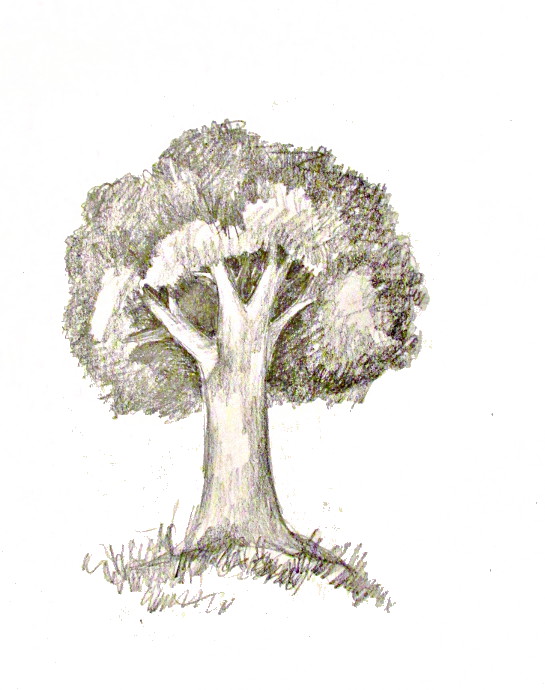
I decided that the tree shouldn't just hang in the air, then I gave it more grass, and shaded in the background.
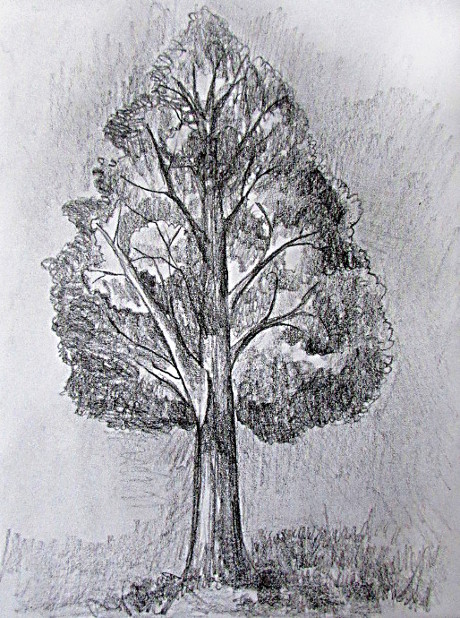
Even more shadows in and around the tree.

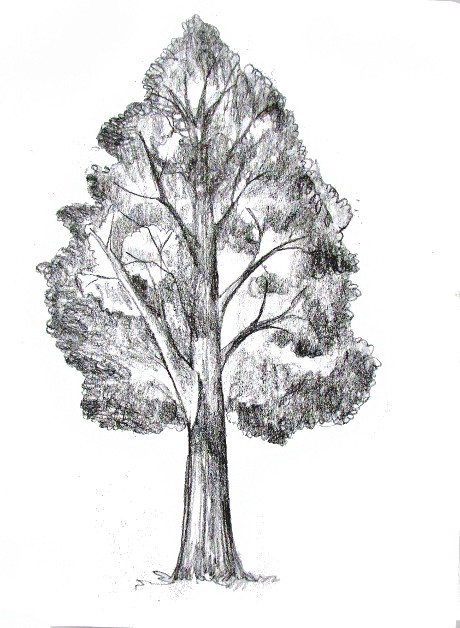
Then I went all out and decided I am going to use my eraser and add together some sun rays coming out of the corner.
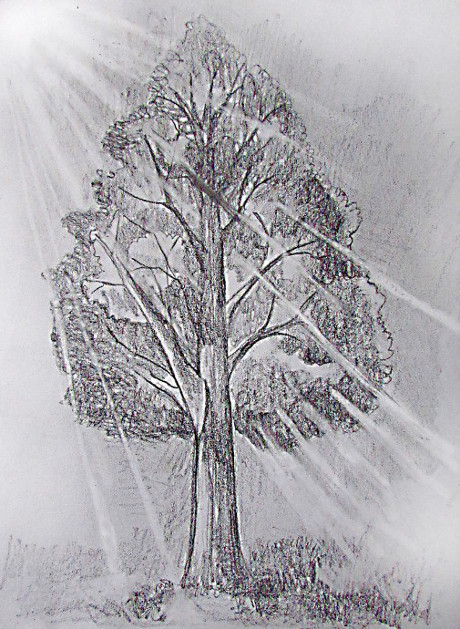
Even farther, I got eraser happy and made more rays coming out through the tree and on the ground below it. Tree # 1 is all done!!!
Tree # 2: The Seascape Tree.
As before, I drew the line and the crown, but this tree is being bent by the current of air, so the tree will be bending down a scrap.
I add together the hill, and make the trunk thicker.
I extend the trunk shape up. As before, information technology'due south thicker towards the bottom, and comes to a point on top.
Add some main branches. Because the wind is bravado, many of the branches are leaning to the right.
Go along adding branches, so far all leaning to the right.
Here is more than branches. Here is the thing about the branches. The thick, main branches are stronger, and then they will not be as affected by the wind, but the smaller branches will all indicate in the direction of the current of air.
I shade the trunk a bit and added some roots to the loma.
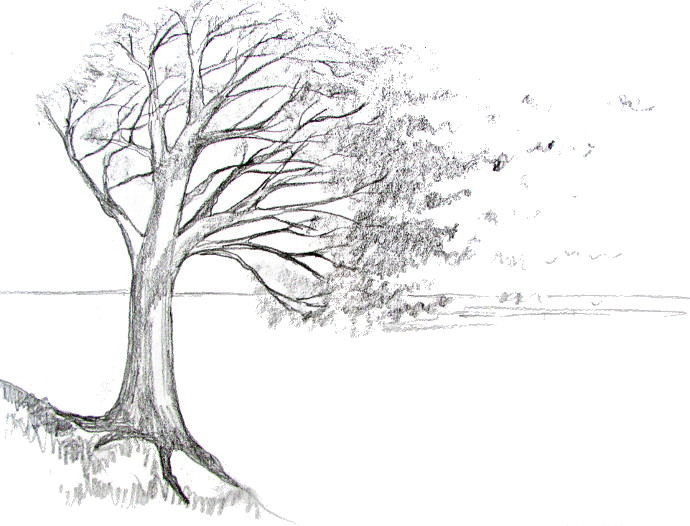
Alright, at present leaves are squiggly lines fatigued with the side of my pencil. Some of them are flying off, so more minor squiggles. I as well add a horizon line: where the water meets the sky and some grass on the hill.
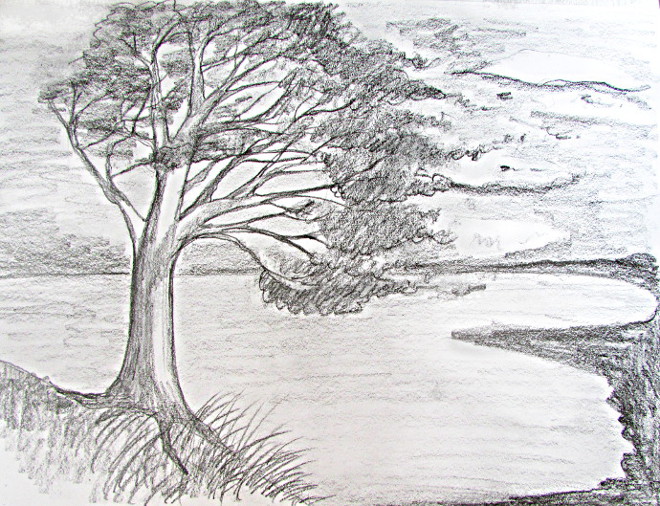
I added some clouds, shaded the water, drew a sand line, and some tall grass on the hill. The tall grass is likewise leaning in the winds direction. I as well darkened some of the leaves a bit.
Tree # iii: Pine Tree:
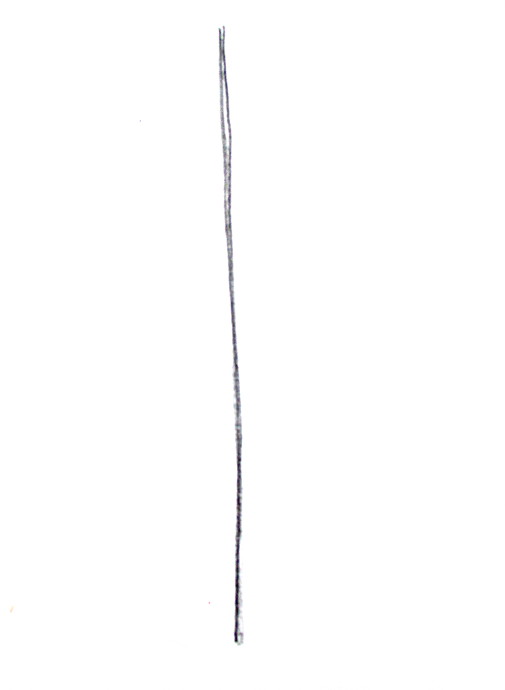
Equally before, I start with a trunk.
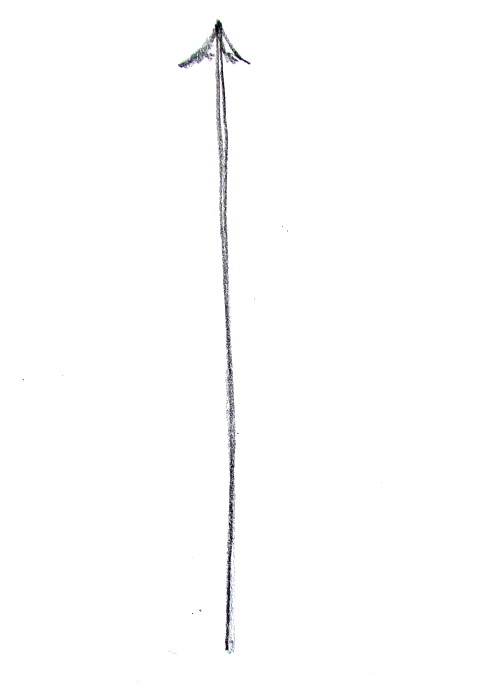
I add a pocket-sized triangular shape on top with directly lines all moving to the top.

Add more triangular lines on top of i some other.
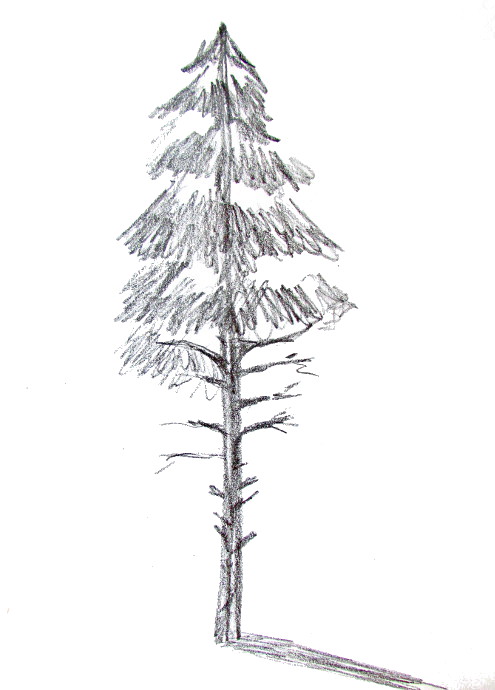
Keep calculation the branches with needles to about half way, and then sketch a few empty branches. Thicken the torso. Add a shadow to the tree.
Tree # 4: Umbrella Tree
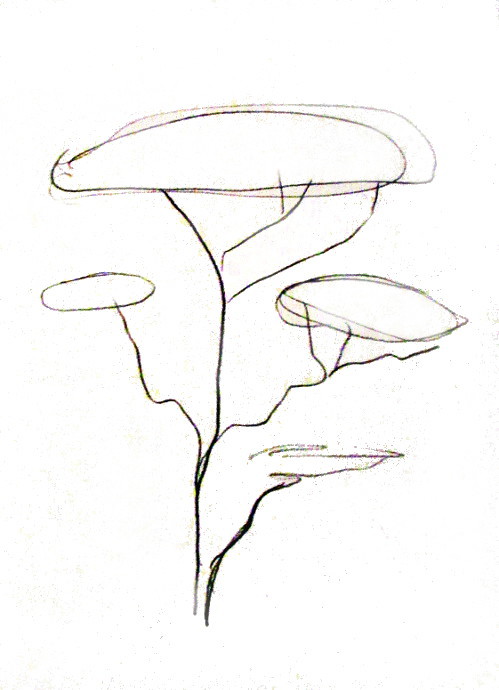
This tree was specially fun to draw. I started to draw it by cartoon the ovals for the leafage parts. I decided on four, but if you lot want more, that would be quite awesome as well! So I added some squiggly lines coming down to the same area for the tree body.
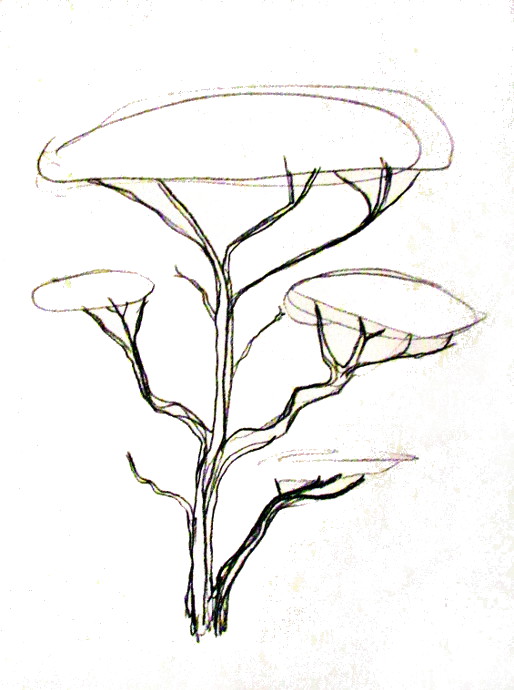
I added more than lines to create thicker trunk branches, added more than branches going out to the 'umbrellas' and added a few empty branches as well.
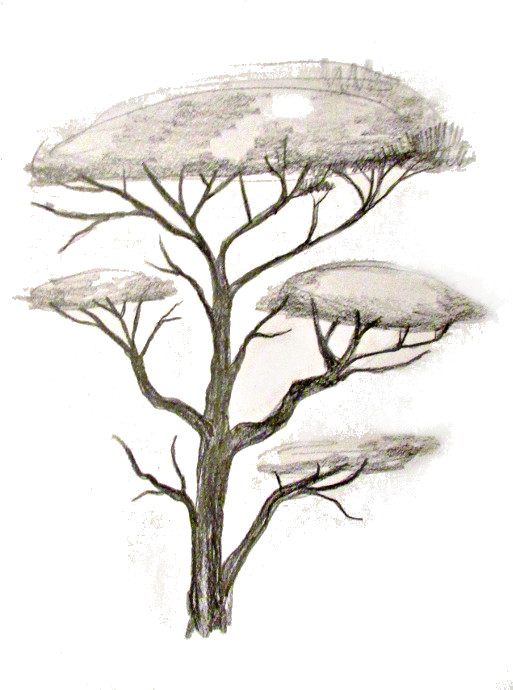
I added more details to the trunk, fabricated more than squiggly branches, and added some shading to the 'umbrella' portions.
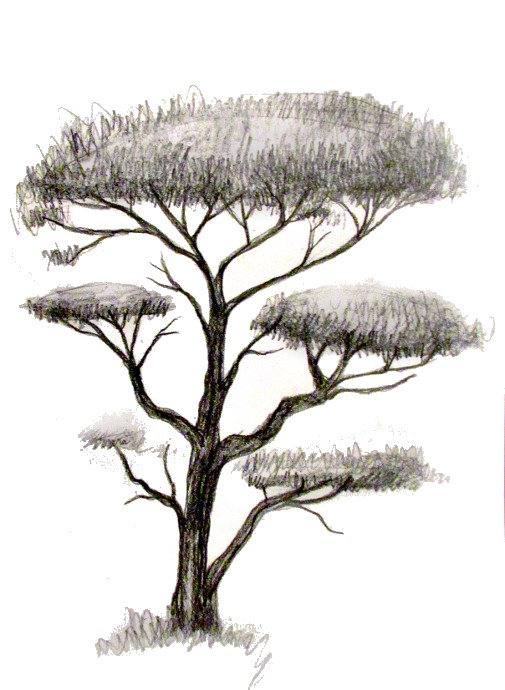
A bit of grass, and some textures on the 'umbrellas', besides make the 'umbrella' textures thicker on the bottom and thinner on top.
Tree # 5: The Bushy Tree:

This tree is more than of a bush-league. All the branches are coming out from the lesser, and growing to about the same size. I starting time with five chief branches.
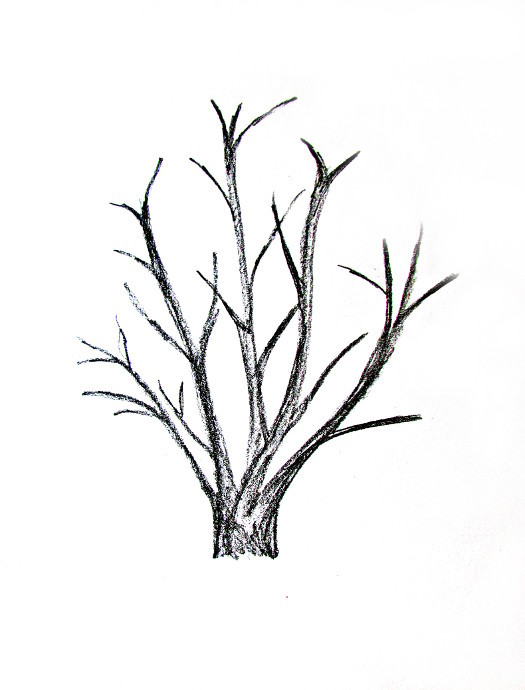
Make the branches thicker, and add some more small branches.
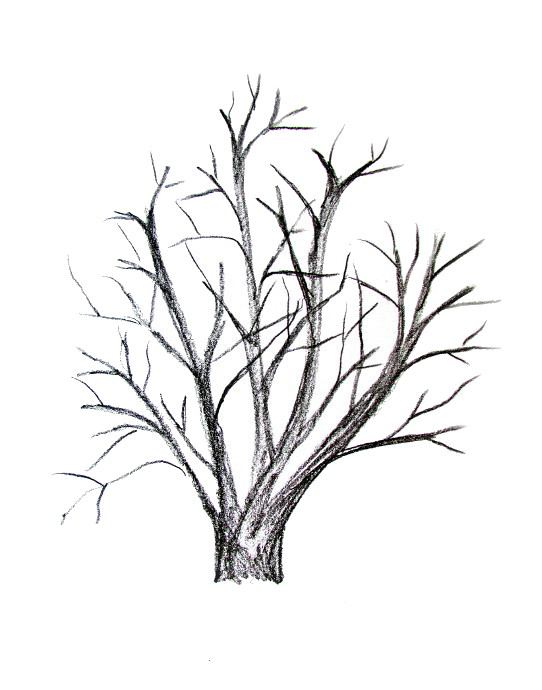
Fifty-fifty more small branches, making the bush thicker and thicker.

With the side of my pencil I added some shadow to where the leaves are going to be.
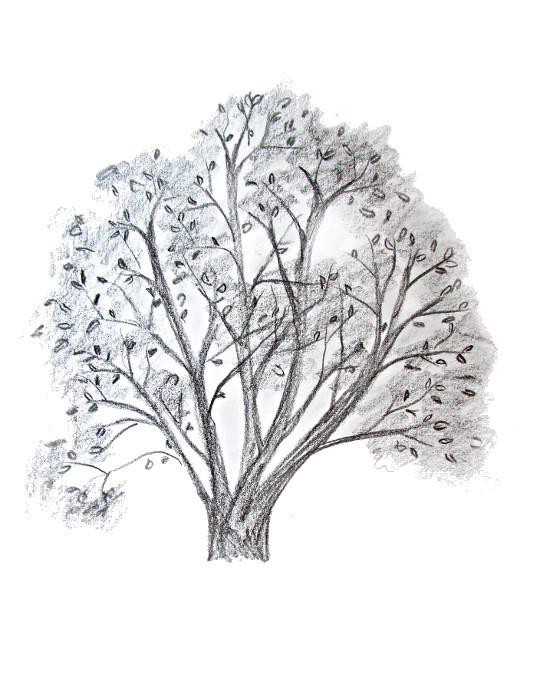
I added some more detailed leaves, only they could besides exist berries, or flowers, or what ever else you would like.
Hither is the Tree # 6, Or The Little Tree:
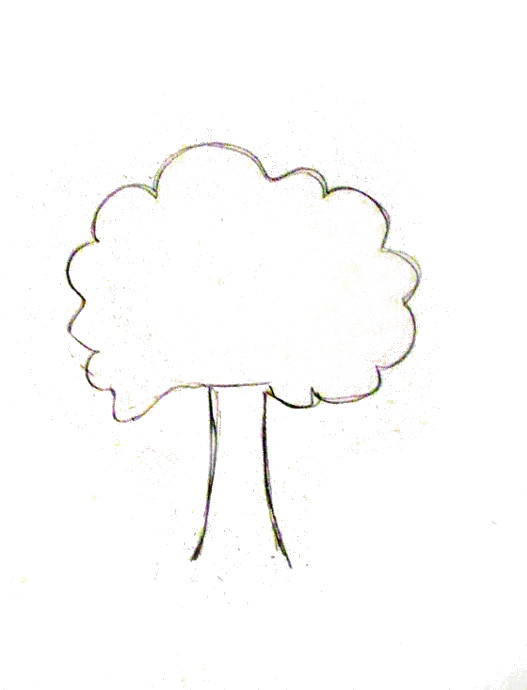
Too often kids (and adults) describe trees which ends in a stump, and has a semi round crown on superlative of information technology. Here I get-go by doing that, then work on information technology some more.
I erased the stump line and gave the tree a few branches, but instead of doing the way I did the in a higher place copse, I ended them half way and will embrace them up with leaves.
Ascertain the leaf areas in the foreground, and add together some branches coming up behind them, as well a few roots.
Shade the trunk a bit, and then starting time shading the leaves that are towards the back.
Exercise a bit more than shading, and add some grass.
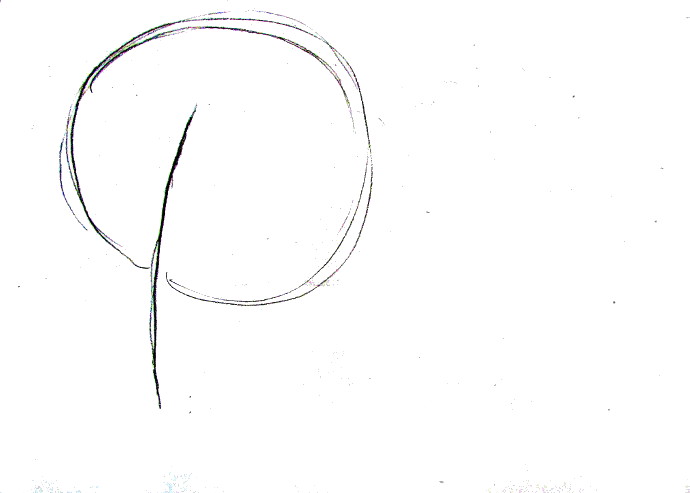
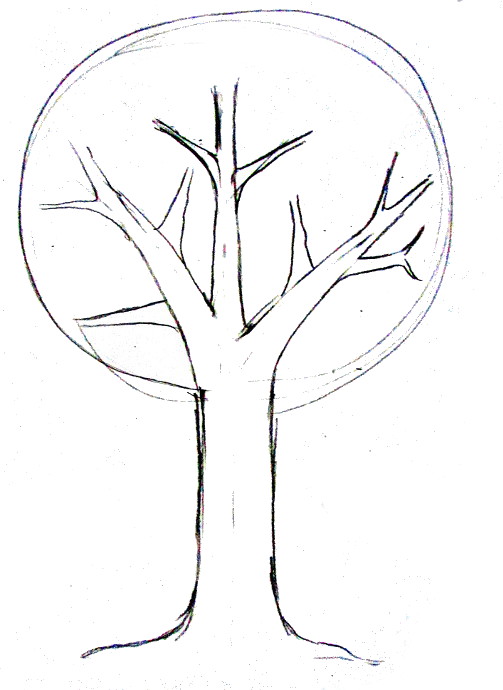
Tree # 7: The First Tree.
This was the first tree I actually drew, and I wasn't also thrilled nigh information technology, simply here information technology is anyway. I starting time every bit earlier, a line for the torso, and a circular shape for the crown.
Lines for the few main branches.
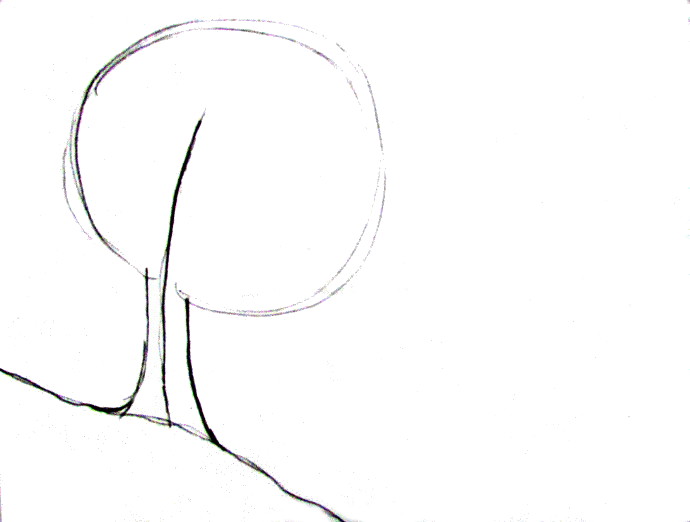
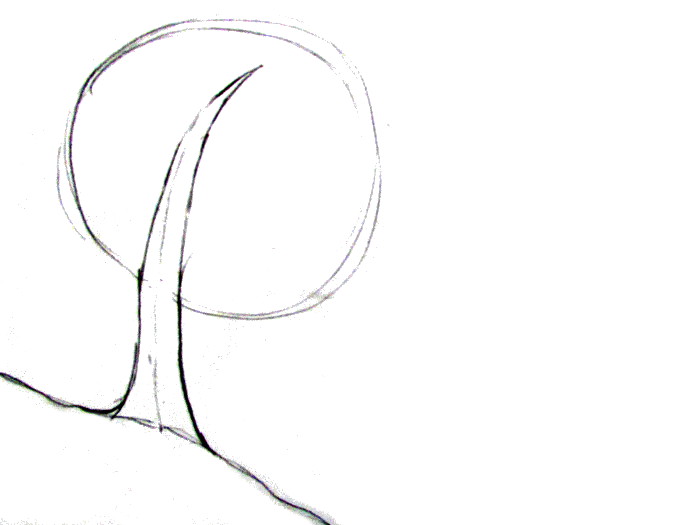
Brand the torso thicker, and give information technology some roots.
Make the main branches thicker besides.
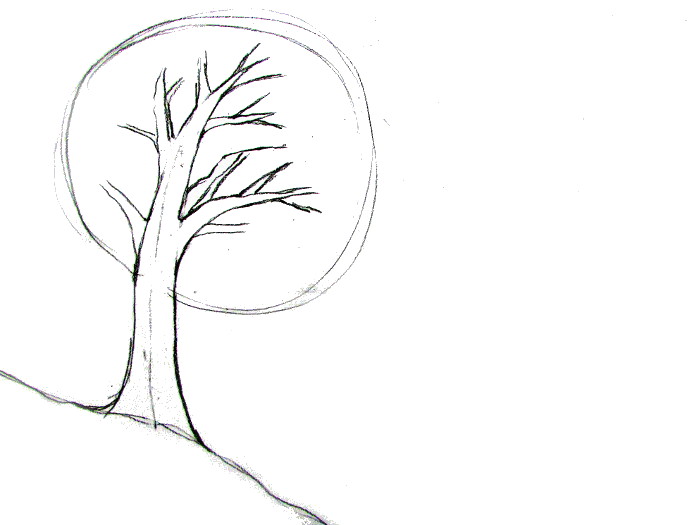
Split off some branches from the main branches.
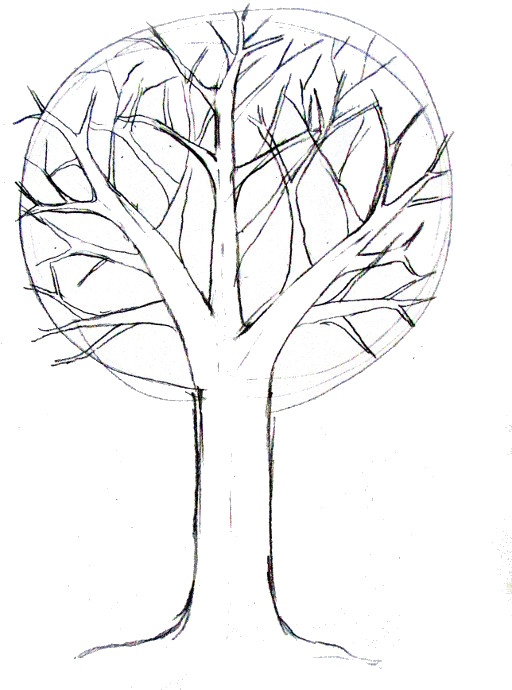
Add even more branches.
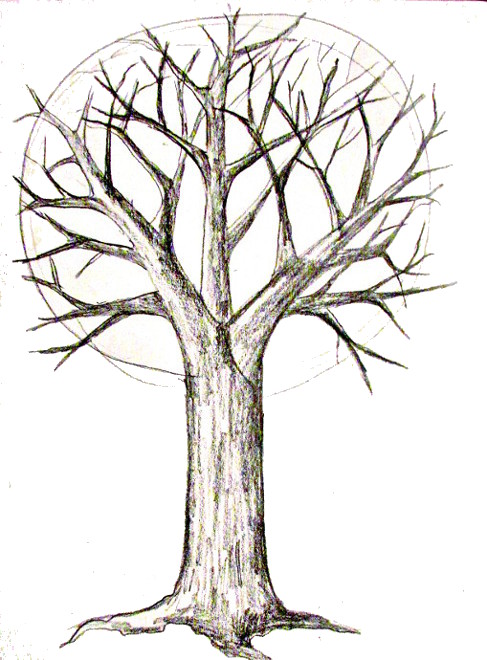
Shade the trunk with direct lines. Determine on where the sun will exist and add together shadows to the areas facing away from the sun.
If you're feeling adventurous, y'all could even add shadows that the branches are casting on the rest of the tree. Actually, at this bespeak, I really liked what this tree was coming out similar, and possibly I should take kept it as a winter tree…
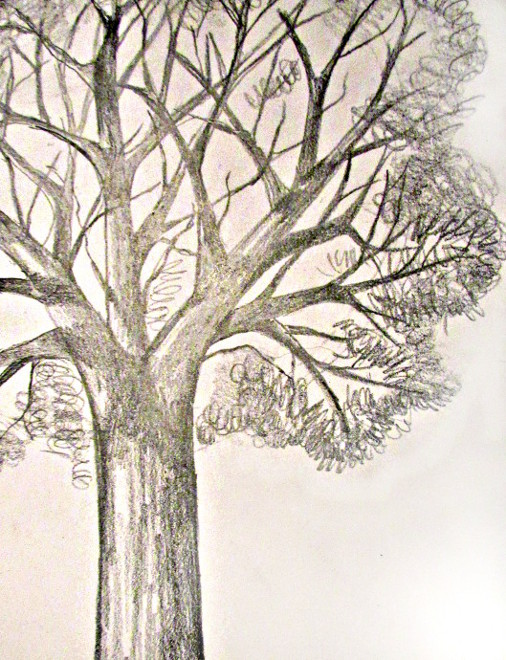
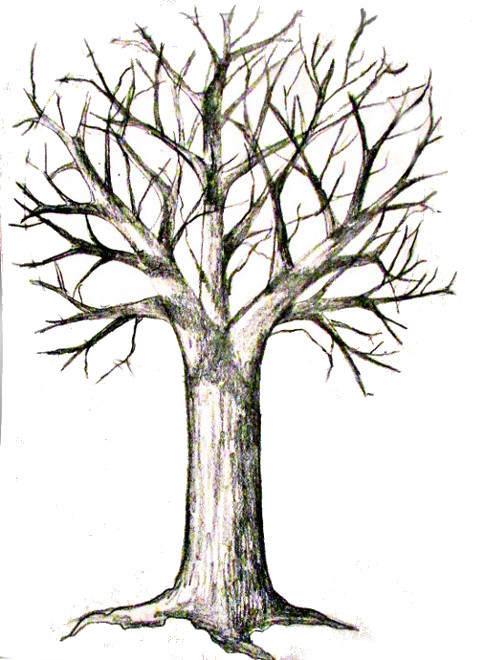
…just no, I had to become and add together squiggly lines to bespeak leaves.
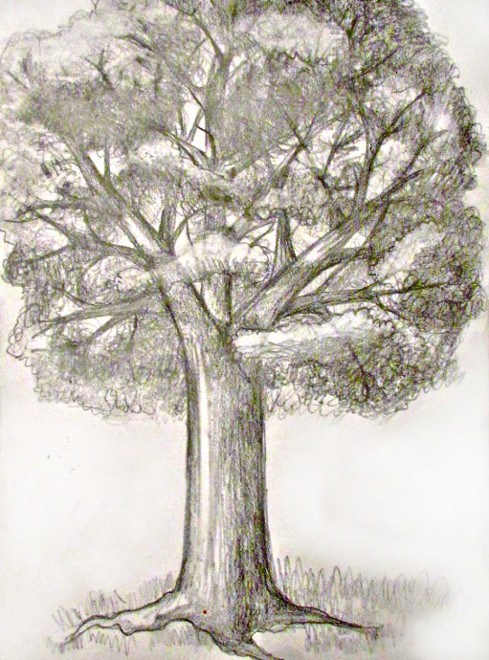
I kept working on the leaves, occasionally using my eraser to add highlights, until I was somewhat happy with it.
Ane more picayune affair I noticed is that I needed to give myself extra infinite. I would commonly run out of space for the tree much quicker then I thought I would.
In that location you go! My trees are all done. Now get and do some trees of your own! Play around, and draw some amazing trees!

Source: https://www.happyfamilyart.com/art-lessons/learn-to-draw/how-to-draw-a-tree/
Posted by: lujancoldingaze.blogspot.com
0 Response to "How To Draw Trees In The Distance"
Post a Comment